Getting Started with WASend
Build WhatsApp integrations in minutes with our developer-first API. Complete setup guide with code examples and best practices.
Quick Start Guide – WASend WhatsApp API
Build powerful WhatsApp integrations with just a few lines of code. This guide gets you from zero to sending your first message in under 5 minutes.
Prerequisites
Before diving in, make sure you have:
- A valid phone number with WhatsApp installed
- Basic knowledge of REST APIs
- Your favorite HTTP client (curl, Postman, or any programming language)
1. Account Setup & Registration
Sign Up for WASend
Head over to wasend.dev/register and create your developer account.
Registration Options:
- Email & Password: Traditional signup with email verification
- Google Sign-In: Quick registration using your Google account
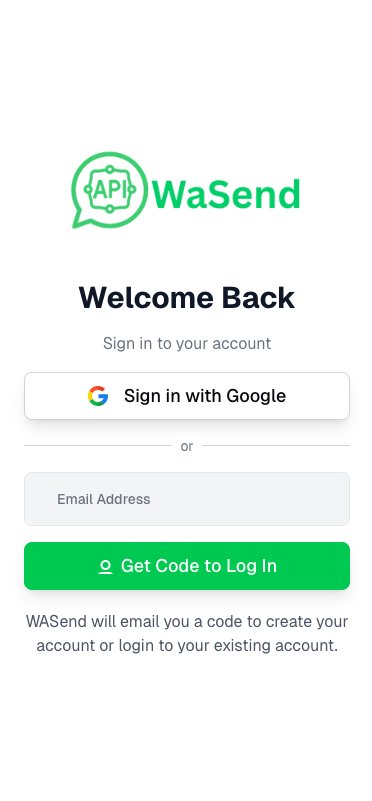
WASend login page showing both email signup and Google sign-in options
Account Verification
For Email Registration: WASend uses a secure verification code system. After registration:
- Check your email inbox for a verification code
- Enter the 6-digit code in the verification prompt
- Your account will be activated immediately
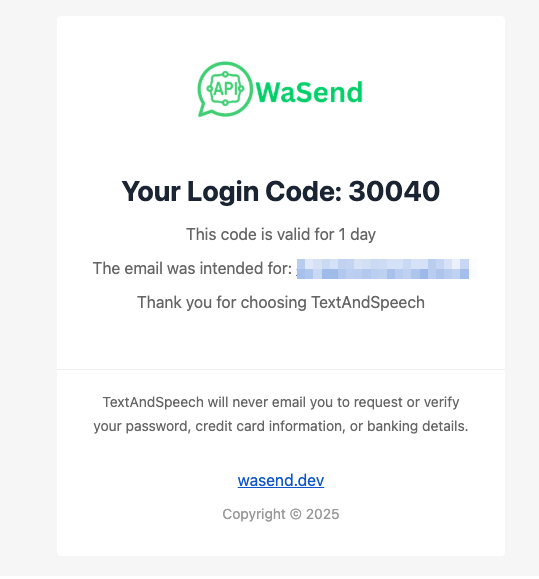
Email verification code input screen
For Google Sign-In: Your account is automatically verified through Google's authentication system - no additional verification needed!
2. Dashboard Overview & Session Creation
Access Your Developer Dashboard
Once logged in, you'll land on your developer dashboard where you can manage sessions, view analytics, and monitor API usage.
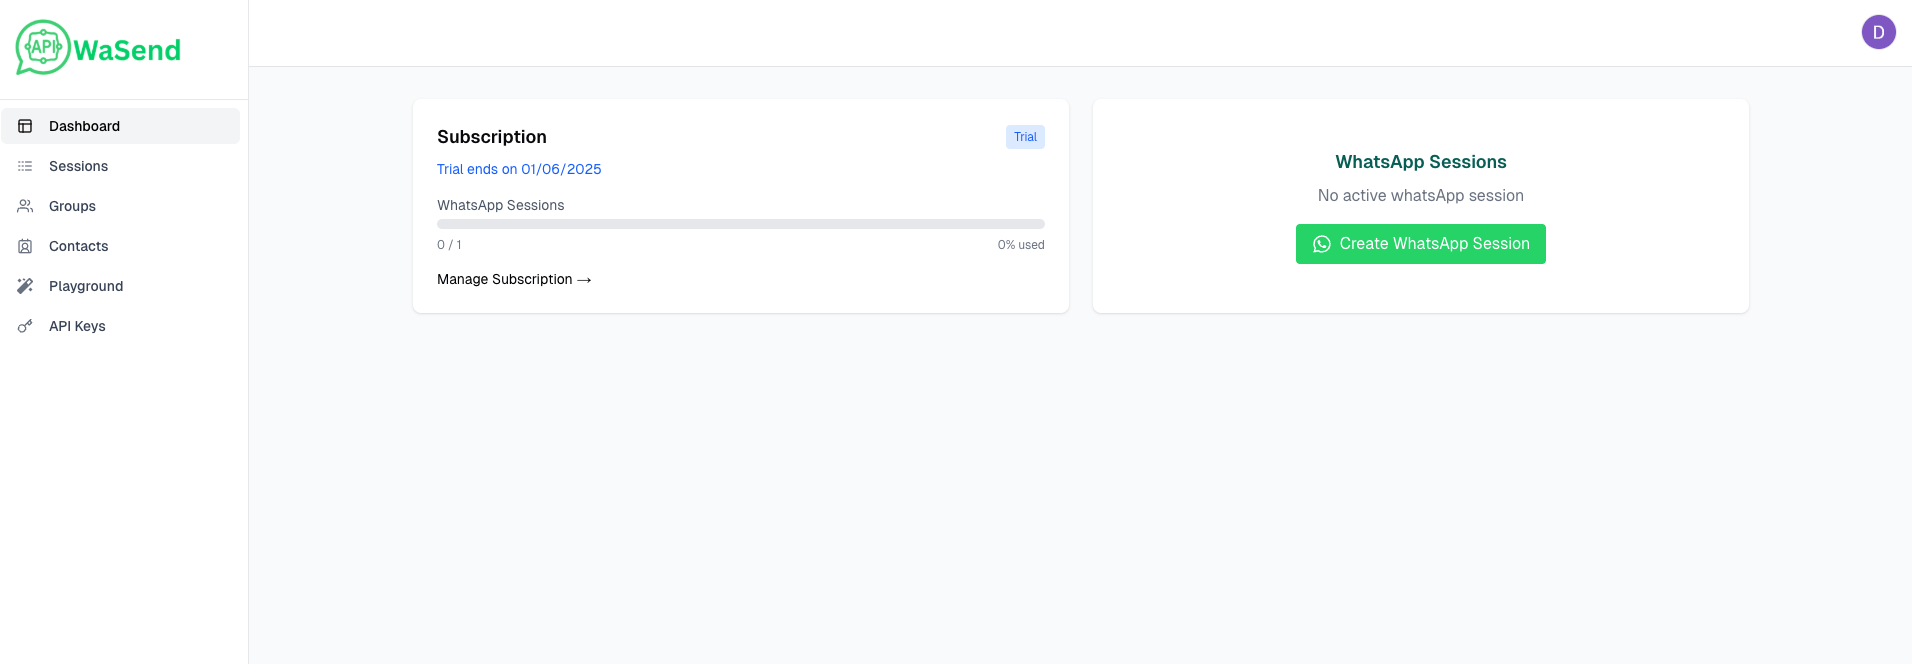
Main dashboard overview showing session cards and stats
Creating Your First WhatsApp Session
- Navigate to Sessions: Click on "Sessions" in the sidebar or the "Create WhatsApp Session" button
- Initialize New Session: Click "Create New Session" to generate a new WhatsApp connection
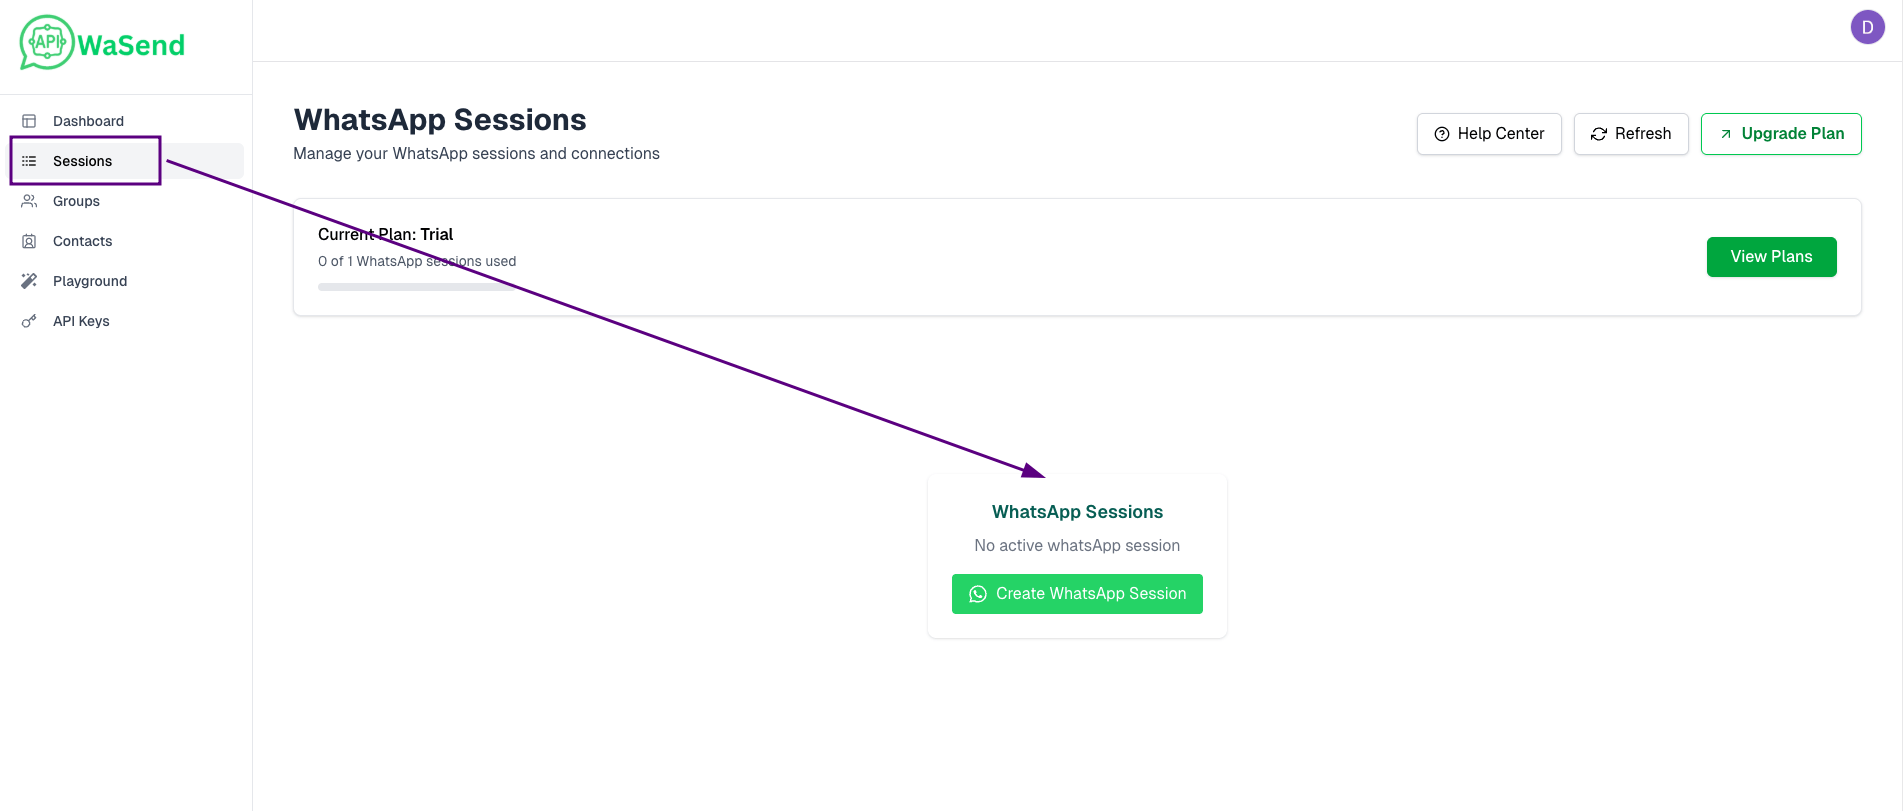
Sessions page with "Create New Session" button highlighted
Session Setup Form
Before generating the QR code, you'll need to configure your session settings:
- Enter Session Name: Provide a logical name to identify your session
- Phone Number: Enter the WhatsApp phone number you'll be linking
- Configure Settings: Choose your account protection and logging preferences
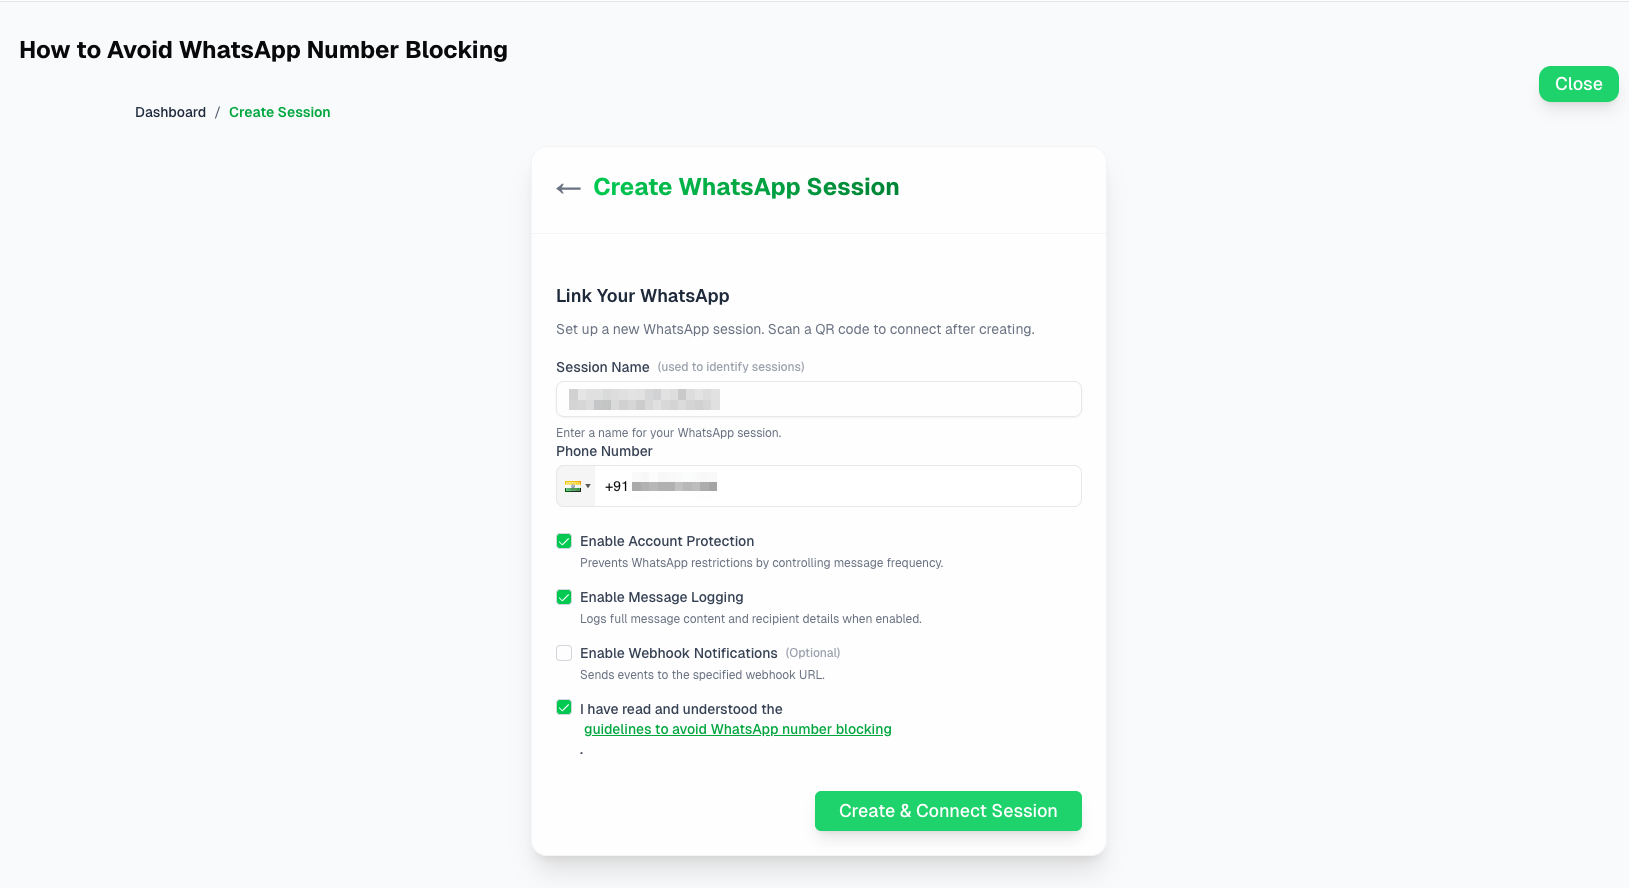
Session creation form where you enter mobile number and session name
QR Code Linking Process
A unique QR code will be generated for your session. This links your WASend session to your WhatsApp account.
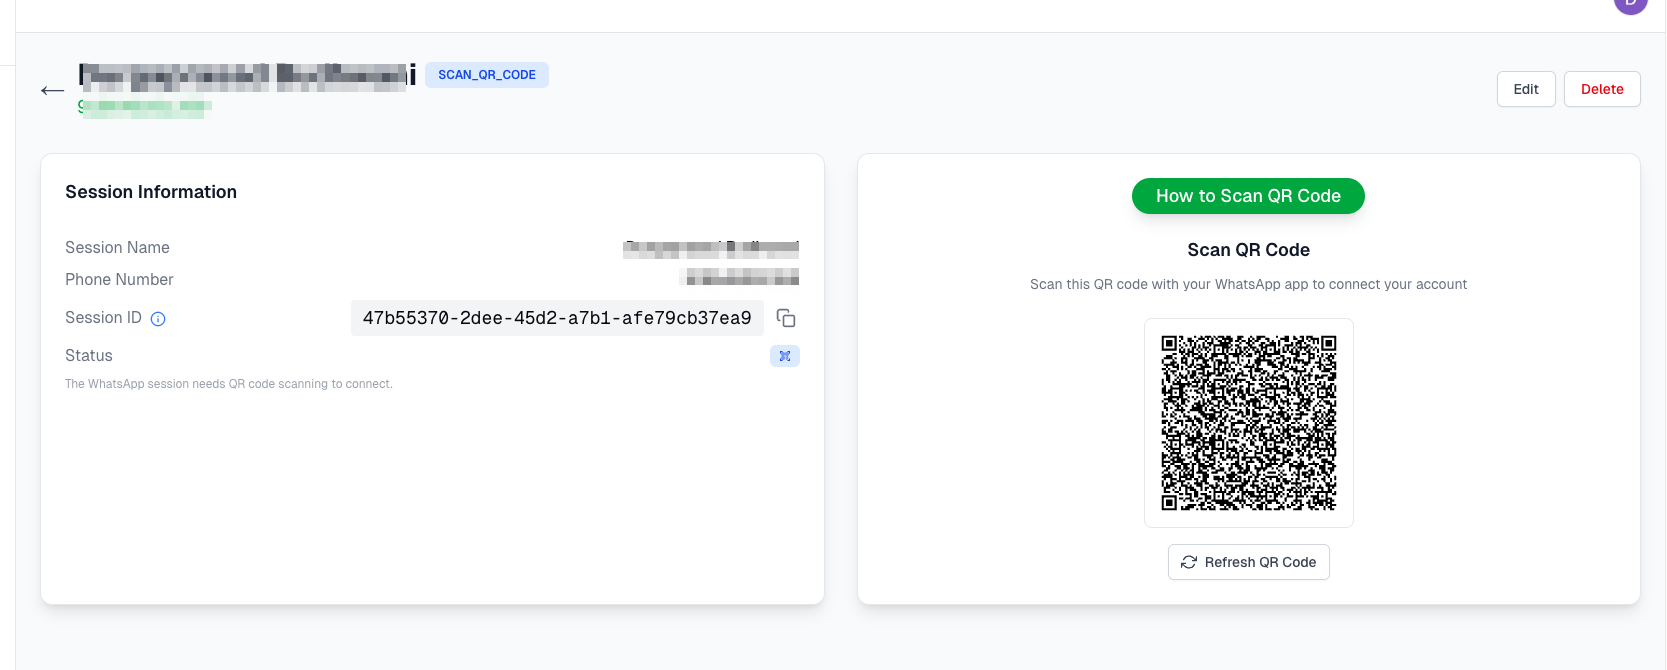
QR code display page with scanning instructions
To link your WhatsApp:
- Open WhatsApp on your mobile device
- Navigate to Settings → Linked Devices → Link a Device
- Scan the QR code displayed in your dashboard
- Wait for connection confirmation
Session Connected Successfully
Once linked, your session status will change to "Working" and you'll receive your Session Id.
3. Your First API Integration
Authentication Setup
Every API request requires authentication using your session's API key:
# Add this header to all requests
Authorization: Bearer YOUR_SESSION_API_KEY
Send a Text Message
Here's how to send your first WhatsApp message:
Endpoint:
POST https://api.wasend.dev/sendRequest Example:
curl -X POST "https://api.wasend.dev/send" \
  -H "Authorization: Bearer YOUR_API_KEY" \
  -H "Content-Type: application/json" \
  -d '{
    "session": "sessionId",
    "to": "+1234567890",
    "text": "🚀 Hello from WASend! Your integration is working perfectly."
  }'
TypeScript/JavaScript Example:
import { WasendClient } from '@wasend/core';

const client = new WasendClient({
  apiKey: 'YOUR_API_KEY',
  baseUrl: 'https://api.wasend.dev'
});

// Send a text message
const message = await client.send({
  session: "sessionId",
  to: "+1234567890",
  text: "🚀 Hello from WASend! Your integration is working perfectly."
});

console.log('Message sent:', message);
Python Example:
from wasend import WasendClient

client = WasendClient(
    api_key='YOUR_API_KEY',
    base_url='https://api.wasend.dev'
)

# Send a text message
message = client.send(
    session="sessionId",
    to="+1234567890",
    text="🚀 Hello from WASend! Your integration is working perfectly."
)

print('Message sent:', message)
Go Example:
package main

import (
    "fmt"
    "github.com/wasenddev/wasend-sdk-go"
)

func main() {
    client := wasend.NewWasendClient(wasend.ClientConfig{
        ApiKey: "YOUR_API_KEY",
        BaseUrl: "https://api.wasend.dev",
    })

    message, err := client.Send(wasend.SendRequest{
        Session: "sessionId",
        To:      "+1234567890",
        Text:    "🚀 Hello from WASend! Your integration is working perfectly.",
    })
    if err != nil {
        fmt.Printf("Error sending message: %v\n", err)
        return
    }
    fmt.Printf("Message sent: %+v\n", message)
}
.NET Example:
using Wasend.Core;

var client = new WasendClient(new ClientConfig
{
    ApiKey = "YOUR_API_KEY",
    BaseUrl = "https://api.wasend.dev"
});

var message = await client.SendAsync(new SendRequest
{
    Session = "sessionId",
    To = "+1234567890",
    Text = "🚀 Hello from WASend! Your integration is working perfectly."
});

Console.WriteLine($"Message sent: {message}");
Response Format
Successful message sending returns:
{
  "id": "string",
  "chatId": "string",
  "content": "string",
  "type": "string",
  "timestamp": "string",
  "status": "string",
  "fromMe": true,
  "sender": "string",
  "recipient": "string"
}
4. Testing & Validation
Message Delivery Tracking
Monitor your message status in real-time through the dashboard or via API:
GET https://api.wasend.dev/messages/{messageId}Webhook Integration (Recommended)
Set up webhooks to receive real-time delivery updates:
// Webhook endpoint example
app.post('/webhook/wasend', (req, res) => {
  const { messageId, status, timestamp } = req.body;

  console.log(`Message ${messageId} is now ${status}`);

  // Update your database or trigger other actions
  updateMessageStatus(messageId, status);

  res.status(200).send('OK');
});
Configure your webhook URL in the dashboard settings.
5. Best Practices & Tips
Phone Number Format
Always use international format with the '+' symbol:
- ✅ Correct:
+1234567890 - ❌ Incorrect:
1234567890or1-234-567-890
Error Handling
Always implement proper error handling:
try {
  const message = await client.send({
    session: "sessionId",
    to: "+1234567890",
    text: "Hello from WASend!"
  });

  if (message.status === 'error') {
    console.error('Message failed:', message.error);
    // Handle specific error cases
    switch(message.errorCode) {
      case 'INVALID_NUMBER':
        // Handle invalid number
        break;
      case 'SESSION_DISCONNECTED':
        // Reconnect session
        break;
    }
  }
} catch (error) {
  console.error('API request failed:', error);
}
6. Next Steps
Explore Advanced Features
- Messages: Send text, images, videos, documents, and other media types
- Sessions: Create, manage, and monitor WhatsApp sessions
- Authentication: Learn about API authentication and security
- Contacts: Manage and interact with WhatsApp contacts
- Groups: Create and manage WhatsApp groups
Session Management
Keep your sessions healthy by:
- Monitoring connection status regularly
- Setting up webhook notifications for disconnections
- Having backup sessions for critical applications
- Using the session management endpoints:
- Create new sessions
- Get session status
- Restart disconnected sessions
- Delete unused sessions
Get Support
- 📚 Documentation: wasend.dev/docs
- 📧 Email Support: support@wasend.dev
Ready to Scale?
View our pricing plans to unlock:
- Higher rate limits
- Priority support
- Advanced features
- Custom integrations
- SLA guarantees
Additional Resources
- API Reference: Complete API documentation
- SDK Documentation: SDK-specific guides and examples
- Best Practices: Tips for optimal integration
- Security Guide: Security best practices
- Migration Guide: Upgrading from older versions
Want to see this in action? Check out our live demo or explore our code examples repository.